Popular Chinese Recipes
The Official Cookbook
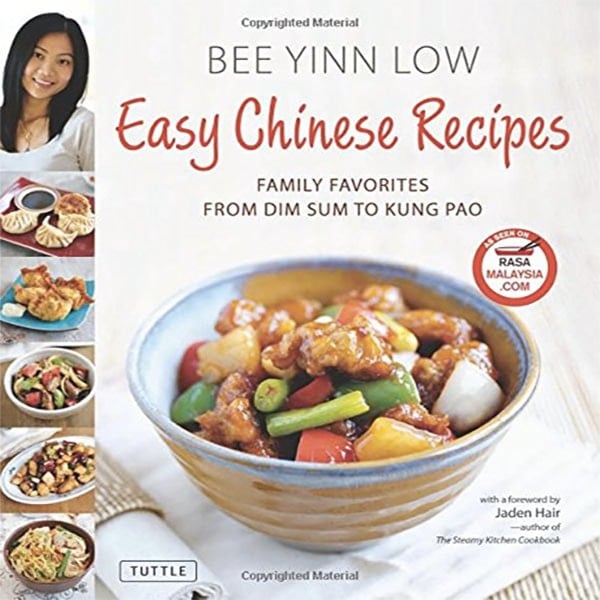
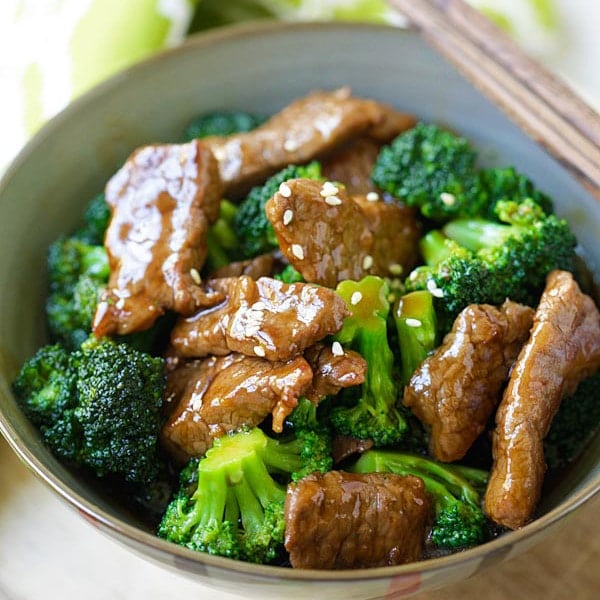
Easy Chinese Recipes
In Easy Chinese Recipes, Bee shares her passion and expertise in Chinese cooking. Favorite Chinese recipes include:
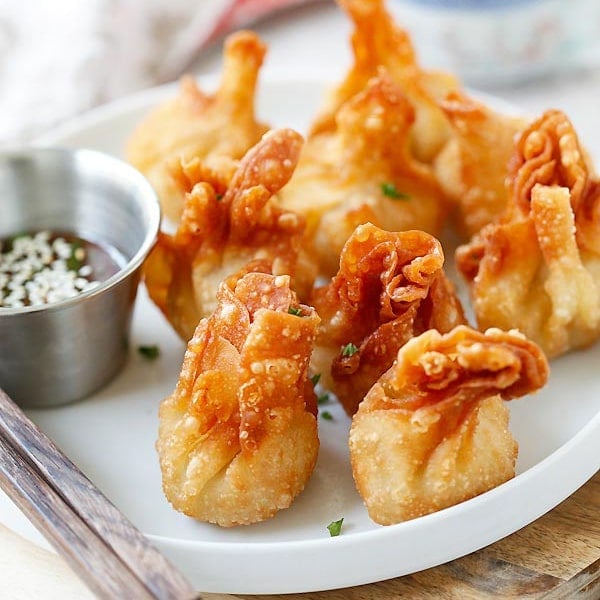
- Crispy Shrimp Dumplings
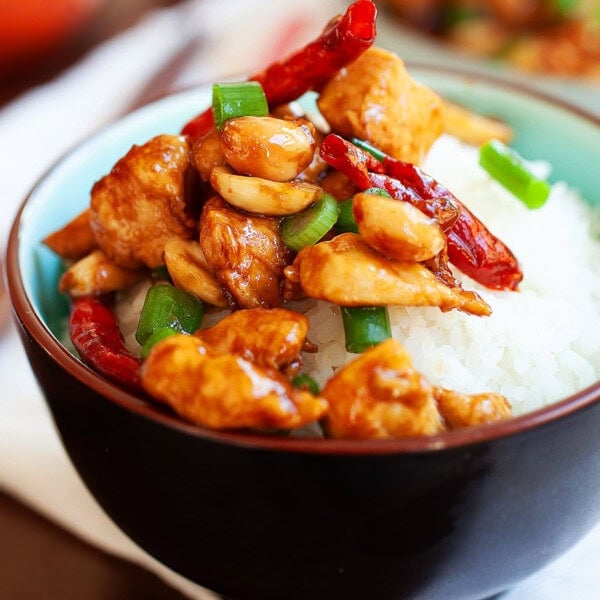
- Kung Pao Chicken
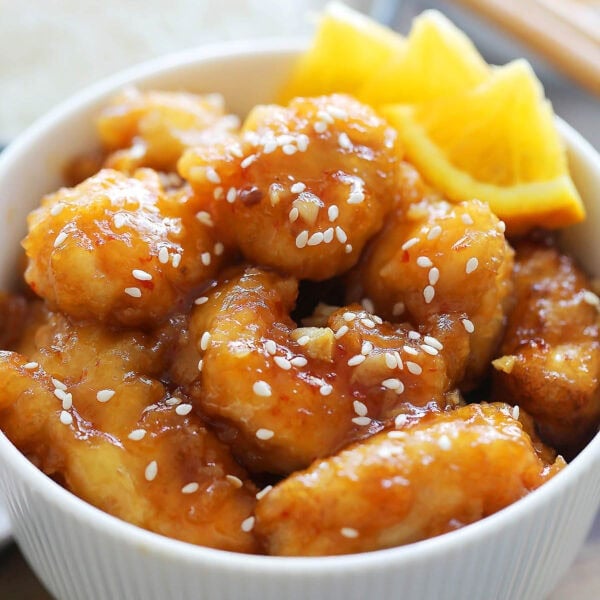
- Sweet-and-Sour Pork
- And much more…
Basic Chinese Cooking Techniques And Tips
Chinese cooks place a heavy emphasis in basic cooking techniques and tips. In fact, they are as important as the recipes—a great Chinese recipe might become a complete failure without proper execution during the preparation and cooking process.
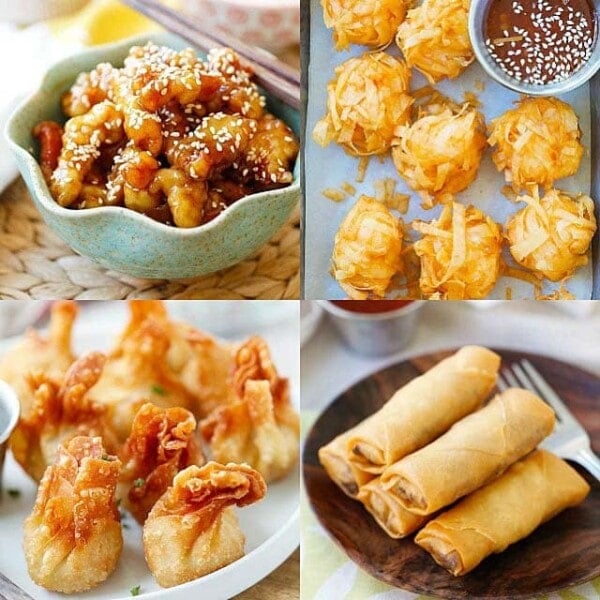

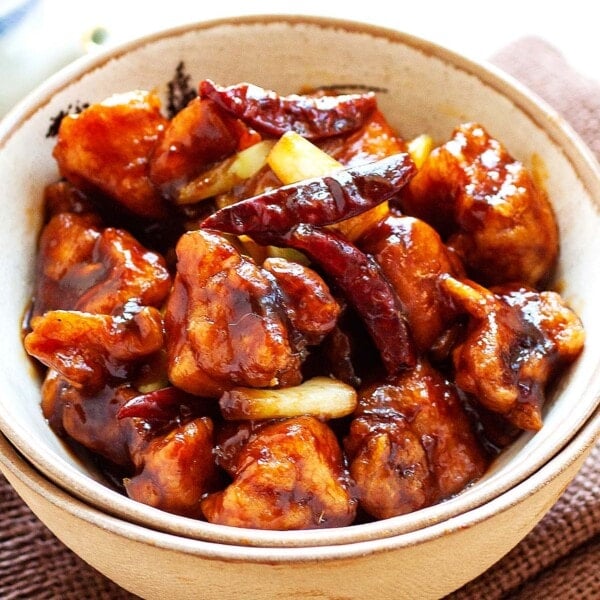
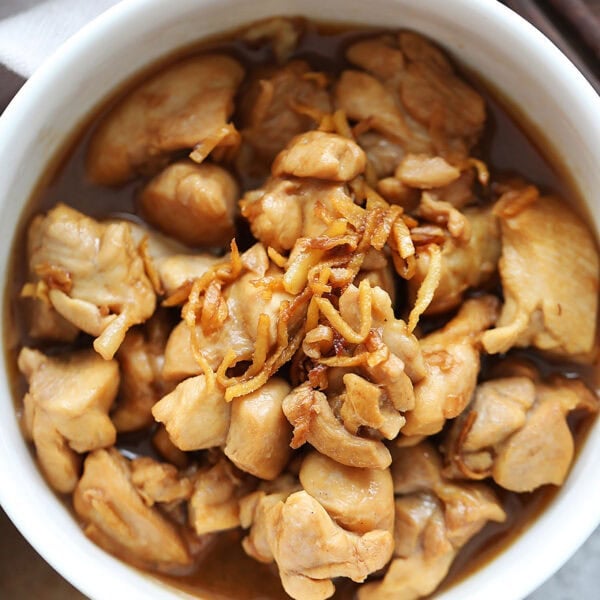
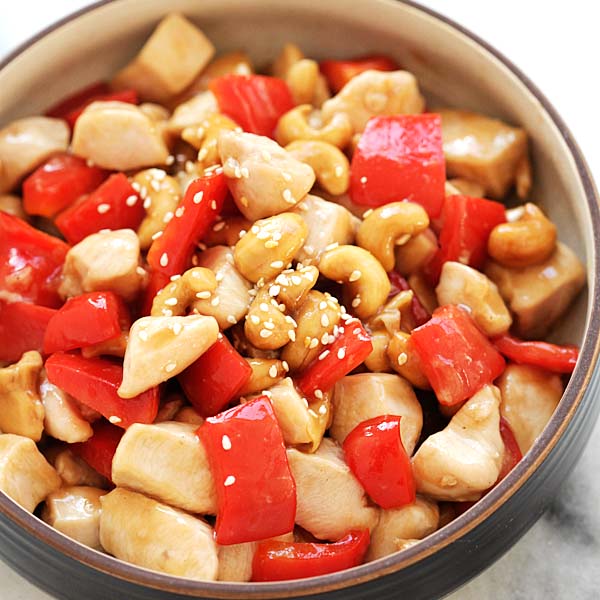
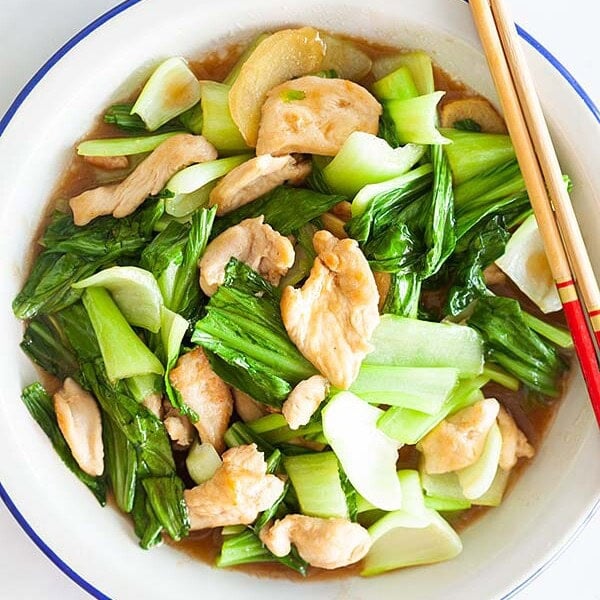
Top 4 Chinese Food Favorites


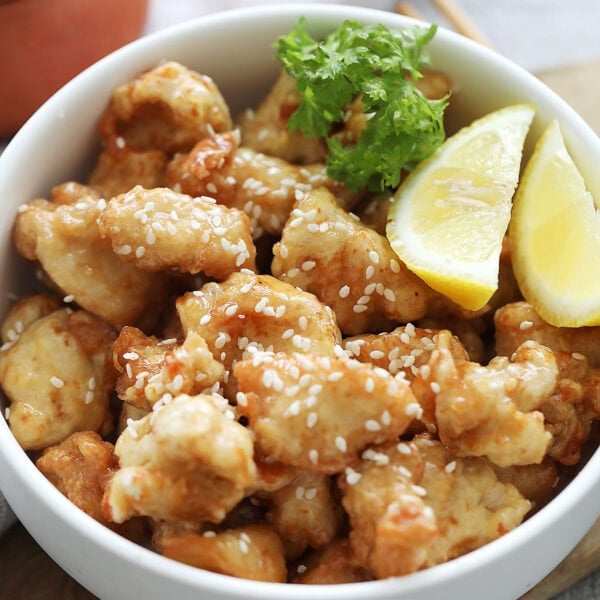
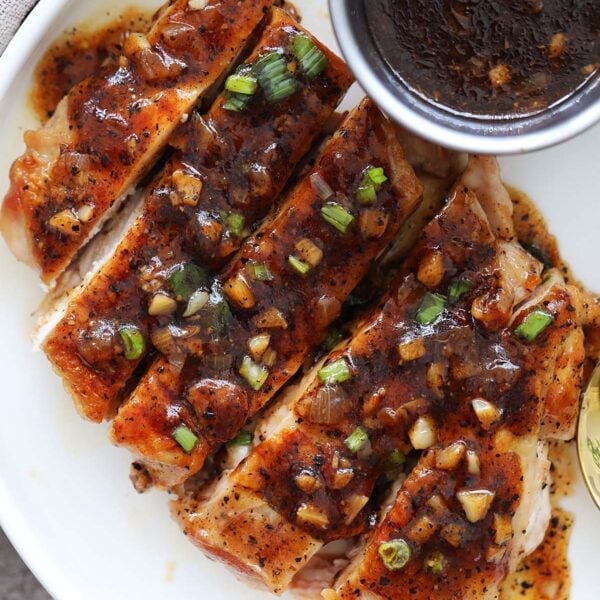
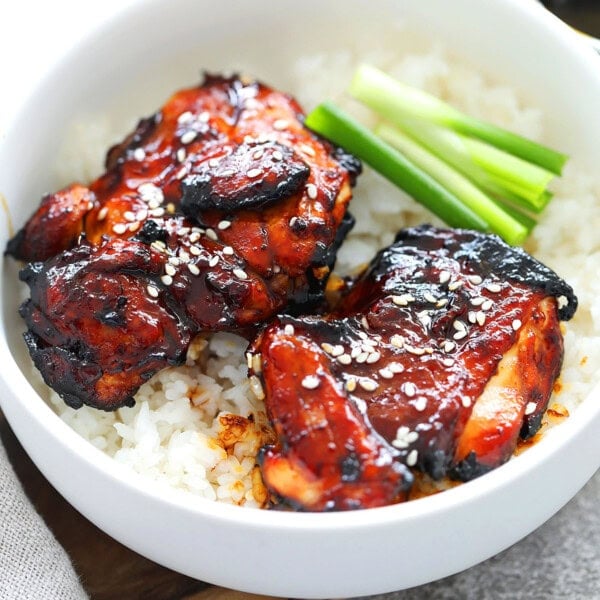
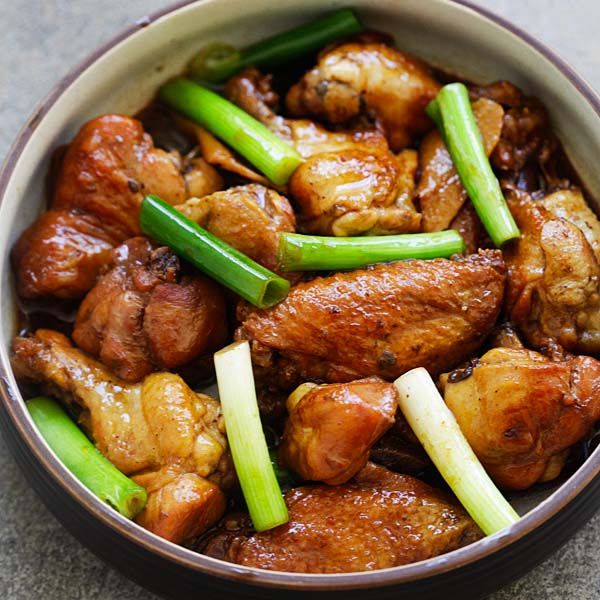
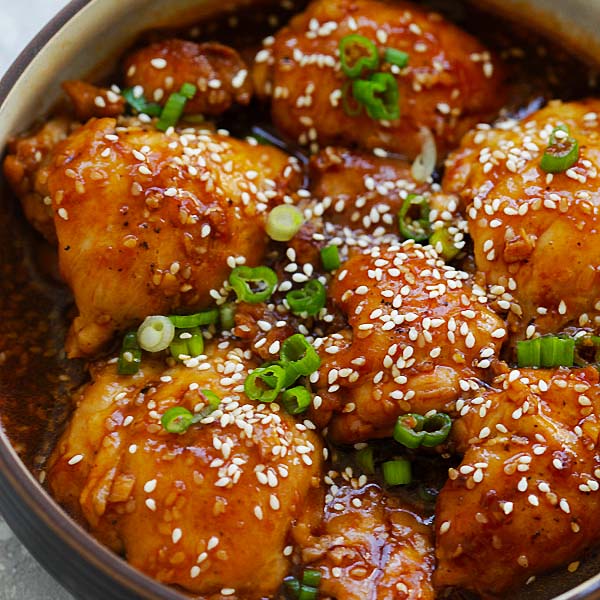
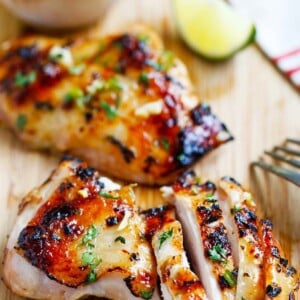
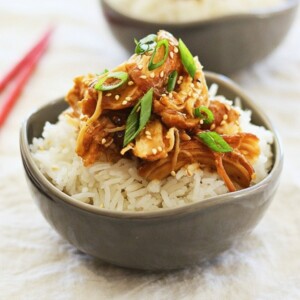
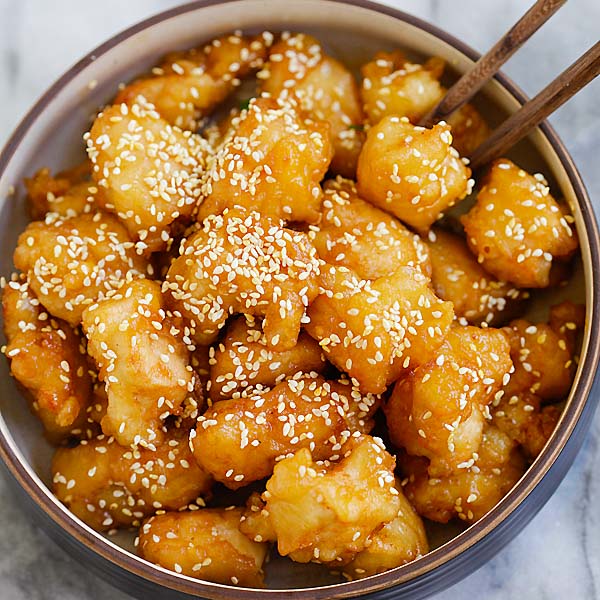
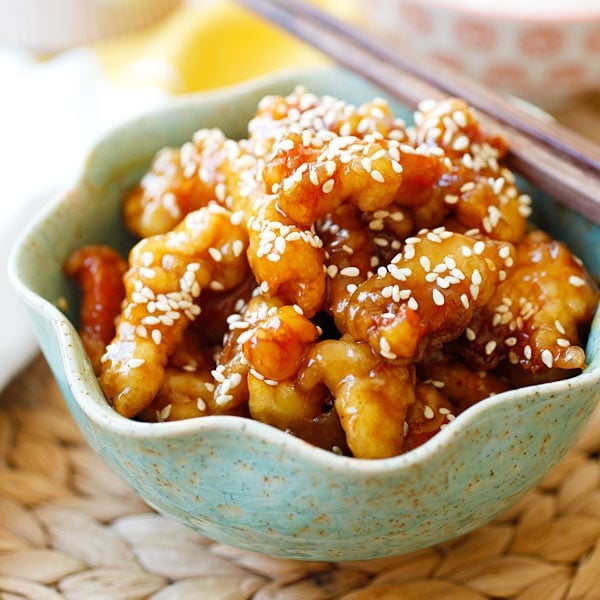
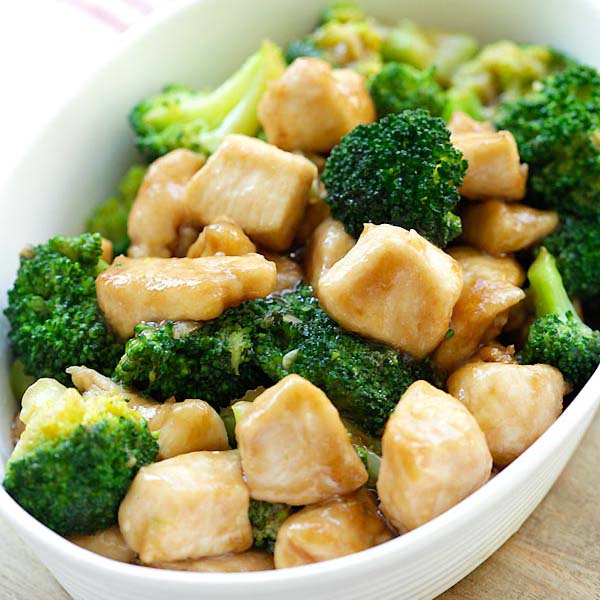
Chicken Chinese Recipes